How to Shorten Links With the Short.io WordPress Extension

WordPress makes website building easy and convenient. After all, the WordPress Foundation specifically built this service to help ordinary people (like you and me) to create professional-looking websites.
However, like all things, you can make WordPress even better. If you want to gain more exposure, create a lasting impression, find your audience, and make your life easier, you'll want to read further.
So, how can we boost your WordPress account? With short links! Here's how these simple things can make a difference for your website and give it the attention it deserves.
4 Reasons to Use the Short.io Plugin for Your WordPress Sites

Over 40% of websites are built on the WordPress platform, yet only a few know about the power that Short.io can bring to it. So, these are four reasons why you need Short.io to enhance your WordPress websites.
1. Shorten Your Links in a Jiffy
When sharing links to your website or articles, shortening them into more concise, branded links is expected today. After all, no one wants to click on a URL with dozens of random characters. A shortened link with your website's name is much more pleasing to the eyes.
Shortening links, depending on the volume of links you share, can take time and effort; no-name shorteners only allow you to shorten one connection at a time. So, while shortening a single link may not be a hassle, shortening a dozen to a hundred could be a living nightmare.
Fortunately, when you download the Short.io plugin for your WordPress, shortening thousands of links can happen with just a few clicks. Within seconds, every link you share from your WordPress website will look pretty, short, and equipped with several features (more on this later).
2. Gather Information on Your Audience

When you shorten your WordPress links with Short.io, you may think you're only making your links prettier. However, that is far from the truth. Short.io doesn't only care about looks—it cares more about features and what they can do for you.
Gathering information on your audience is merely one of them. Let's say you've created a website that helps people cook easy meals at home. You've created and published several recipes online, but the CTR (click-through rate) doesn't seem to grow, or you don't receive much positive feedback.
So, you check the statistics on your links and find that your recipes mainly involve Asian ingredients, while 80% of your users are from Italy. Statistics like these can influence your websites greatly, letting you adjust your content to satisfy your market or even pivot your website altogether to target a different audience.
3. Target Your Market
"Can we actually target a specific audience to read our website?" You may wonder. Well, with Short.io, yes. Short.io has a Geotargeting feature that allows you to target not only countries, cities, tourist attractions, or even buildings. The more specific the location, the more you can ensure the right people are viewing your content.
If you follow the previous example of a cooking website, you could target Asian countries where the ingredients to your dishes are accessible. Your website will not only fall into the desired audience, but you are also more likely to gain more users as the content is relevant to the readers.
You can even use Geotargeting as an affiliate marketer, ensuring that your products are only seen by those you want to show them to.
4. Remind Your Readers of Your Existence

One of the struggles most websites have is being remembered. Think about the last time you surfed the web. Perhaps you've read an article that piqued your interest or updated yourself on the latest celebrity news. While there are some times we remember the sites these articles come from, more often, we forget and move on.
Wouldn't that be a shame? To have an article or a page in your website trend only to be forgotten the next week? Link retargeting—another valuable Short.io feature—can easily avoid this conundrum.
You can use link retargeting to remind anyone that clicks your Short.io short links of your website, even if they've long left your page. Your site won't only be visited—your users who've clicked on your links will be reminded to see it again. This will keep you top-of-mind when they eventually decide to purchase your product or service.
Short.io WordPress Plugin: Key Features You Need
Aside from the advantages you get when you use Short.io on your WordPress page, there are also several features that will make your life easier.
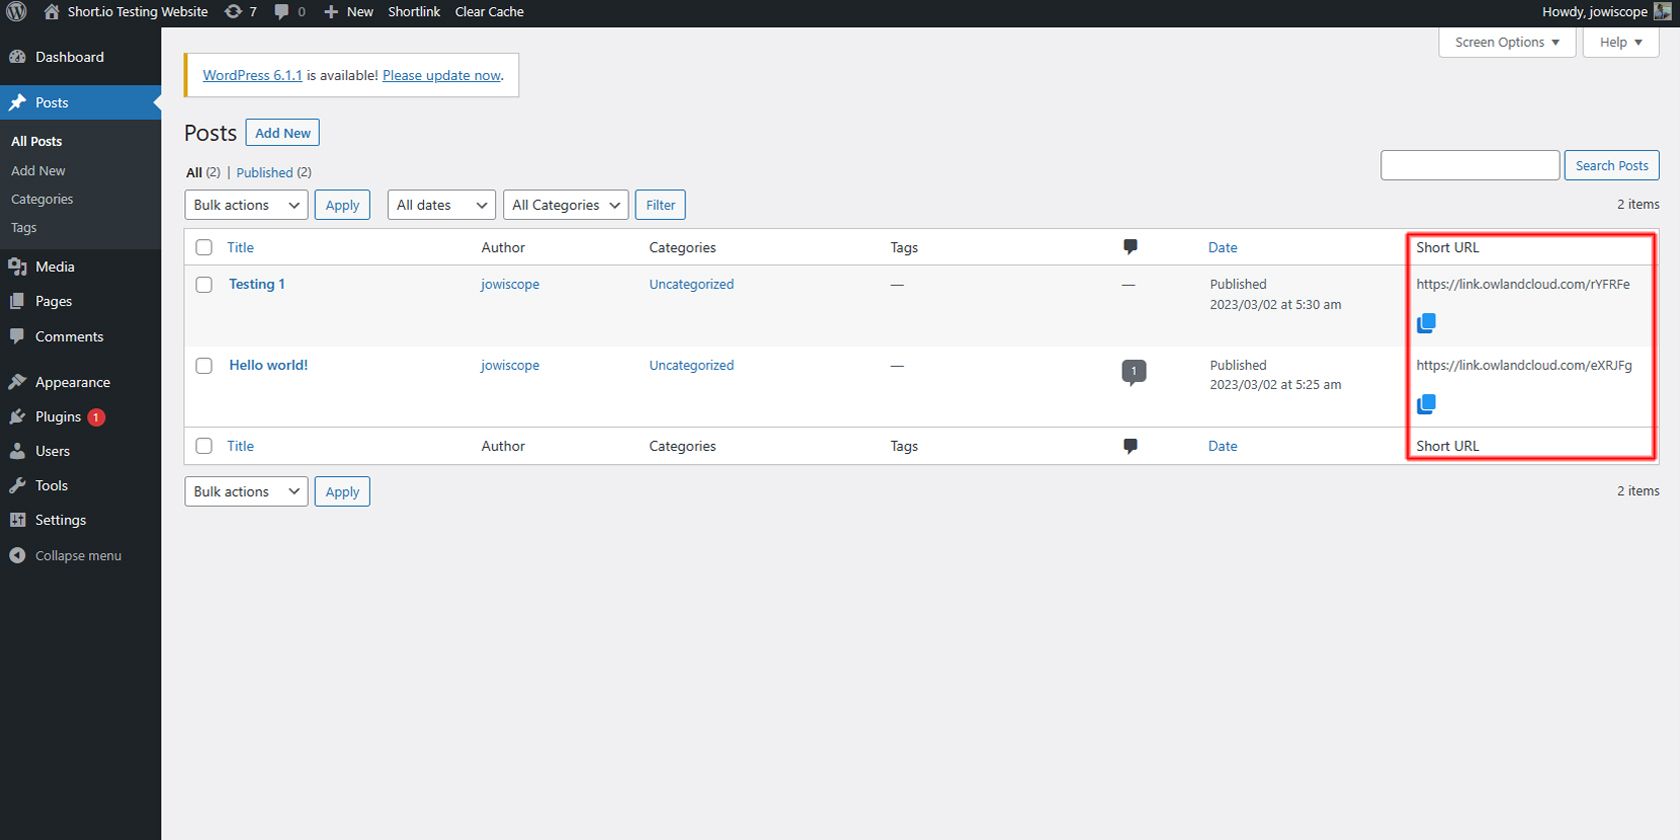
See Your Shortened URLs Right on the Posts Page
Sometimes, it's inconvenient to have multiple tools. While the added functionality you get lets you do more, it's a bother to have to switch between different windows just to get things done.
But with the Short.io WordPress plugin, you no longer need to go to your Short.io to shorten links. Instead, the plugin will automatically create short URLs for every page you make.
With this feature, you can immediately start sharing shortened links straight from your WordPress dashboard.
Quickly Check the Performance of Your Shortened Links
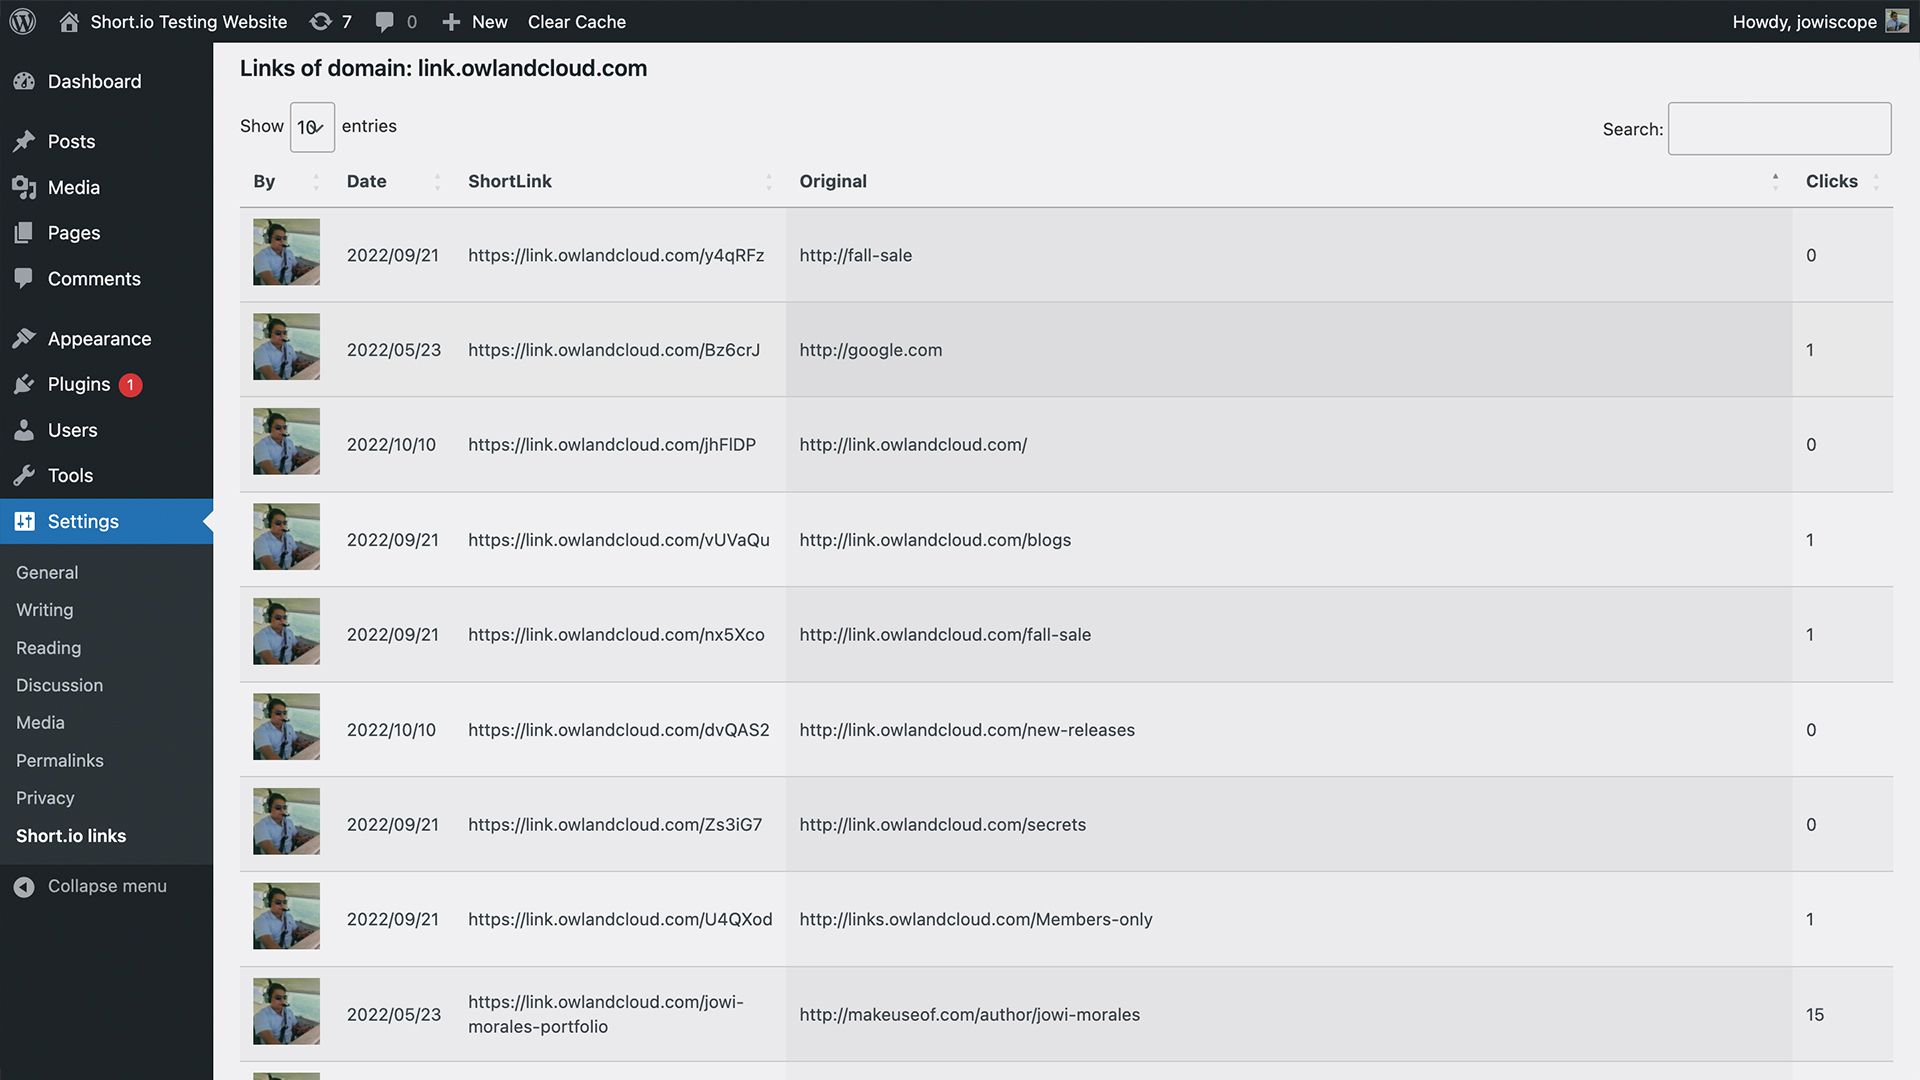
Aside from creating shortened links, you can also see how your web pages perform straight from WordPress. By going to Settings > Short.io links, you can see how many clicks each of your pages are getting.
This ability lets you have a quick overview of how your marketing efforts are performing, allowing you to adjust your strategies as needed.
Easily Configure Your Domain Settings
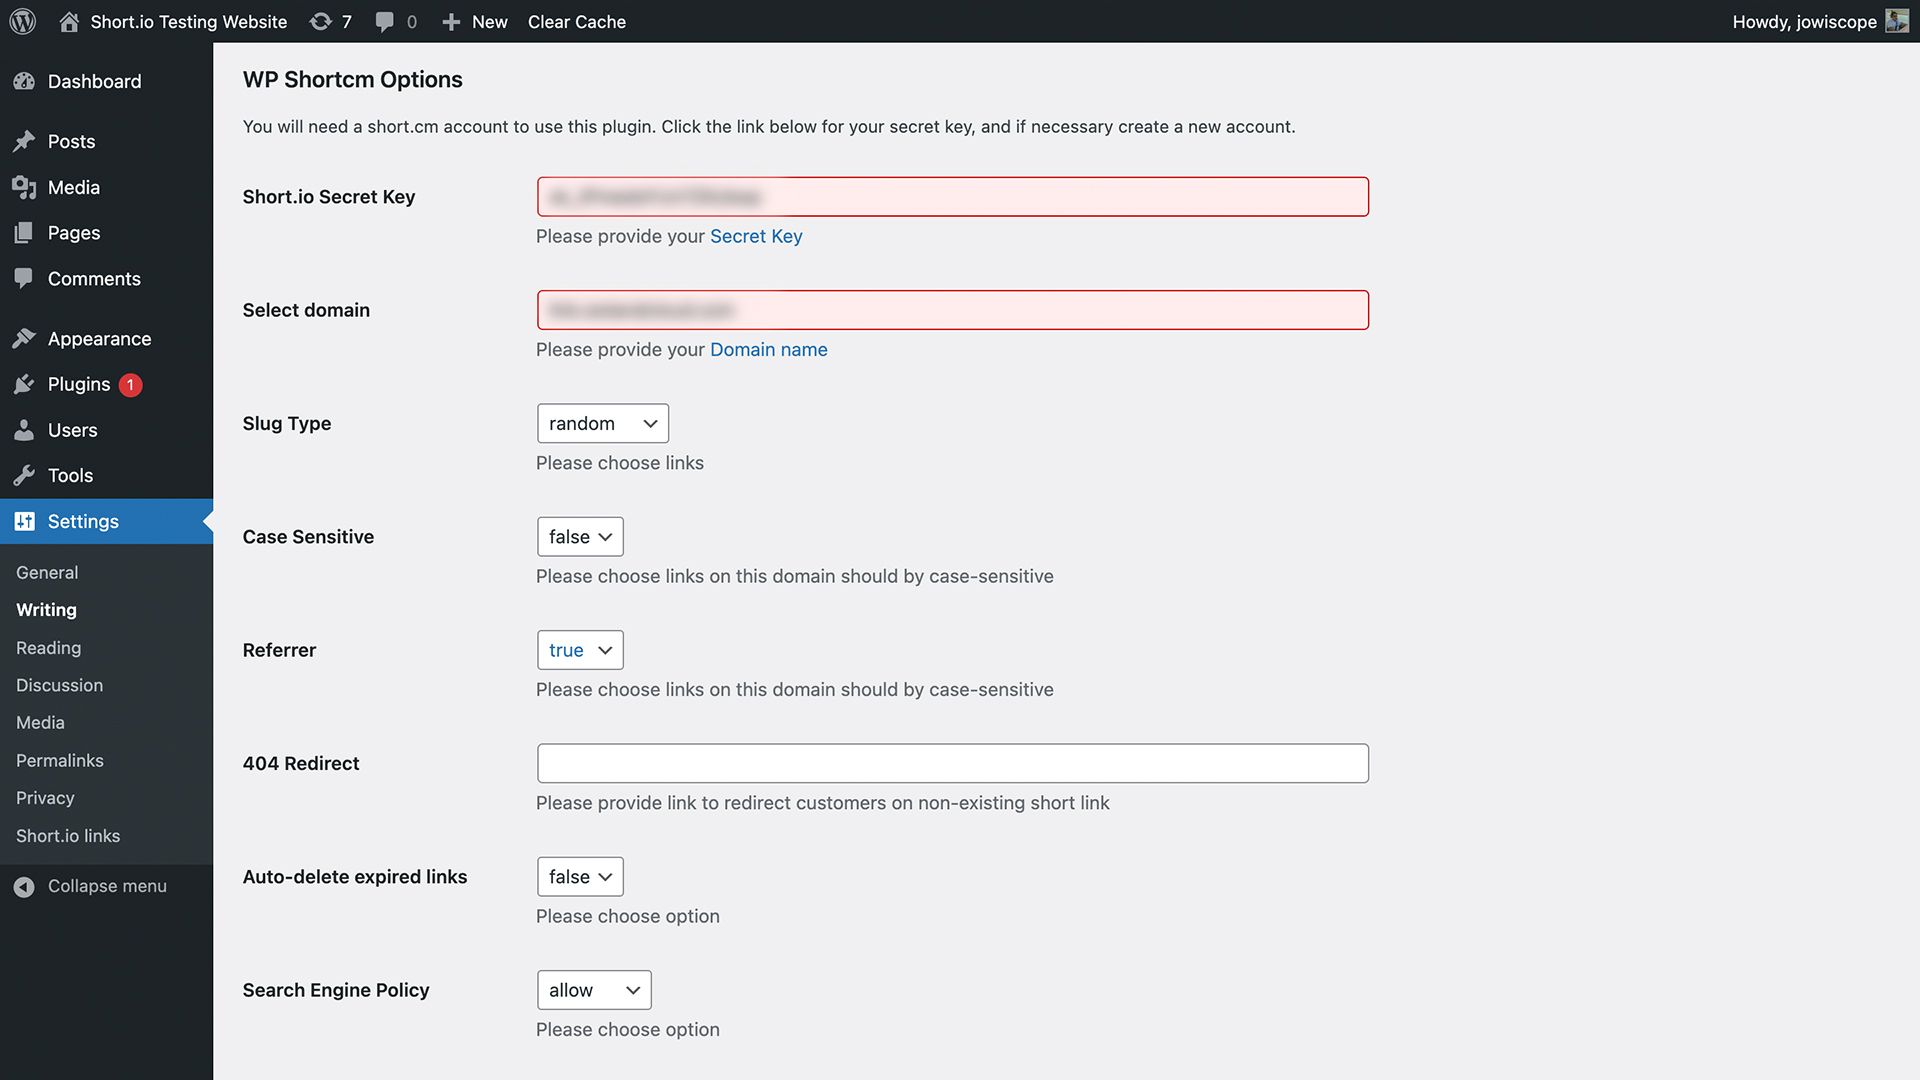
If you need to edit your domain settings, you can easily do so straight from WordPress. Just go to the Plugins view on your WordPress dashboard, look for the Short.io plugin, and click on Settings.
From there, you can change your secret key, slug type, 404 redirects, and more. You can also ensure that your expired links are auto-deleted, avoiding broken links on all your marketing efforts.
How to Install the Short.io Plugin on WordPress
There are two ways you can set up the Short.io plugin for WordPress. While they use different methods, they are both simple to set up.
You can view our Short.io WordPress Plugin Setup Video Tutorial or read the instructions below to find out how.
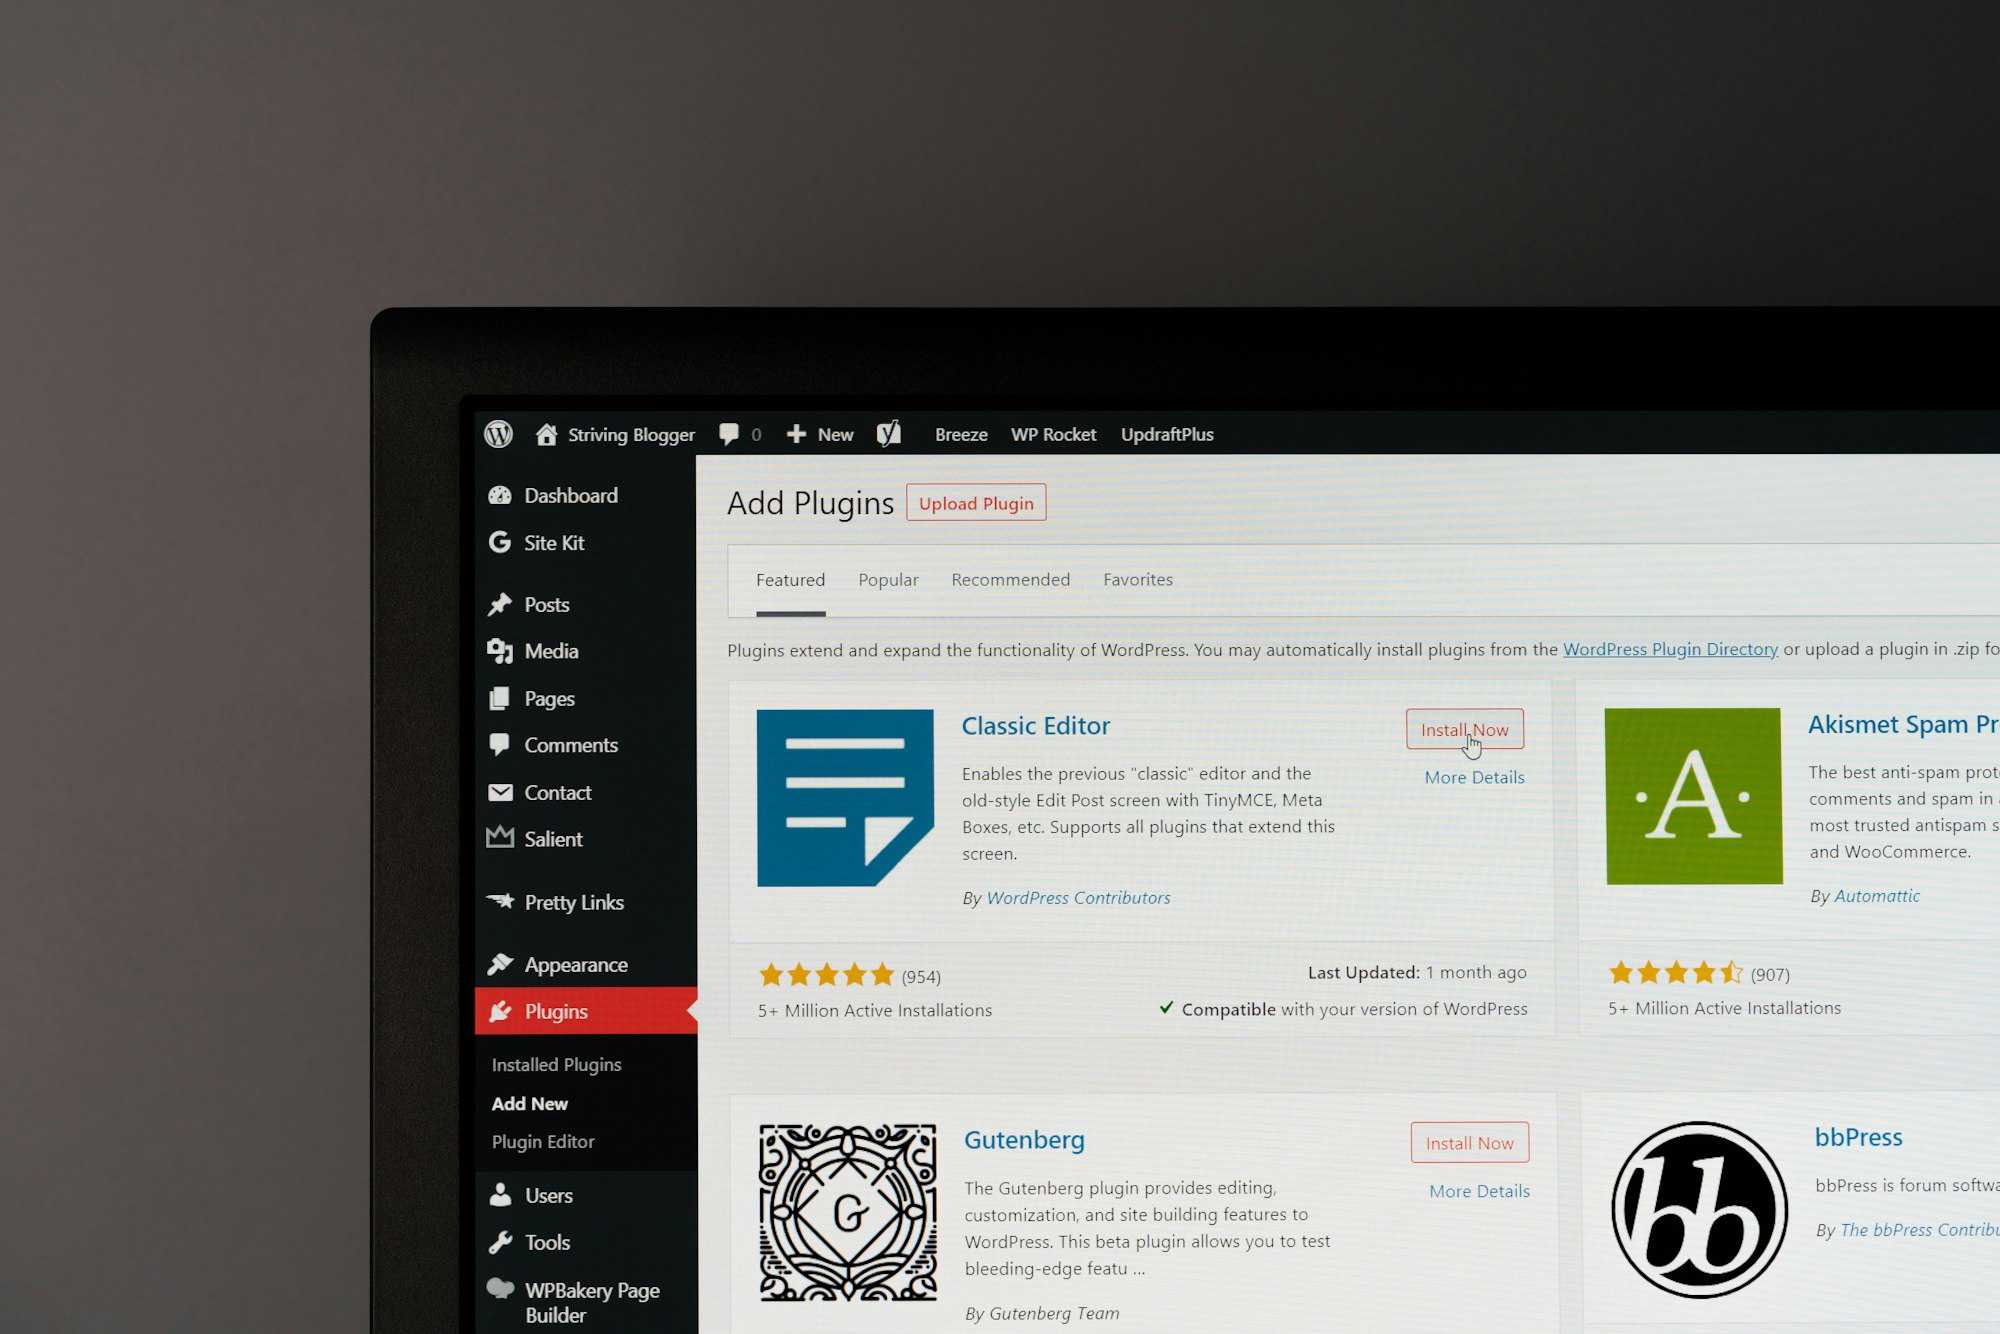
Method One: Search the WordPress Plugin Market
- Open your WordPress Admin Panel.
- Select Plugins.
- Select Add new.
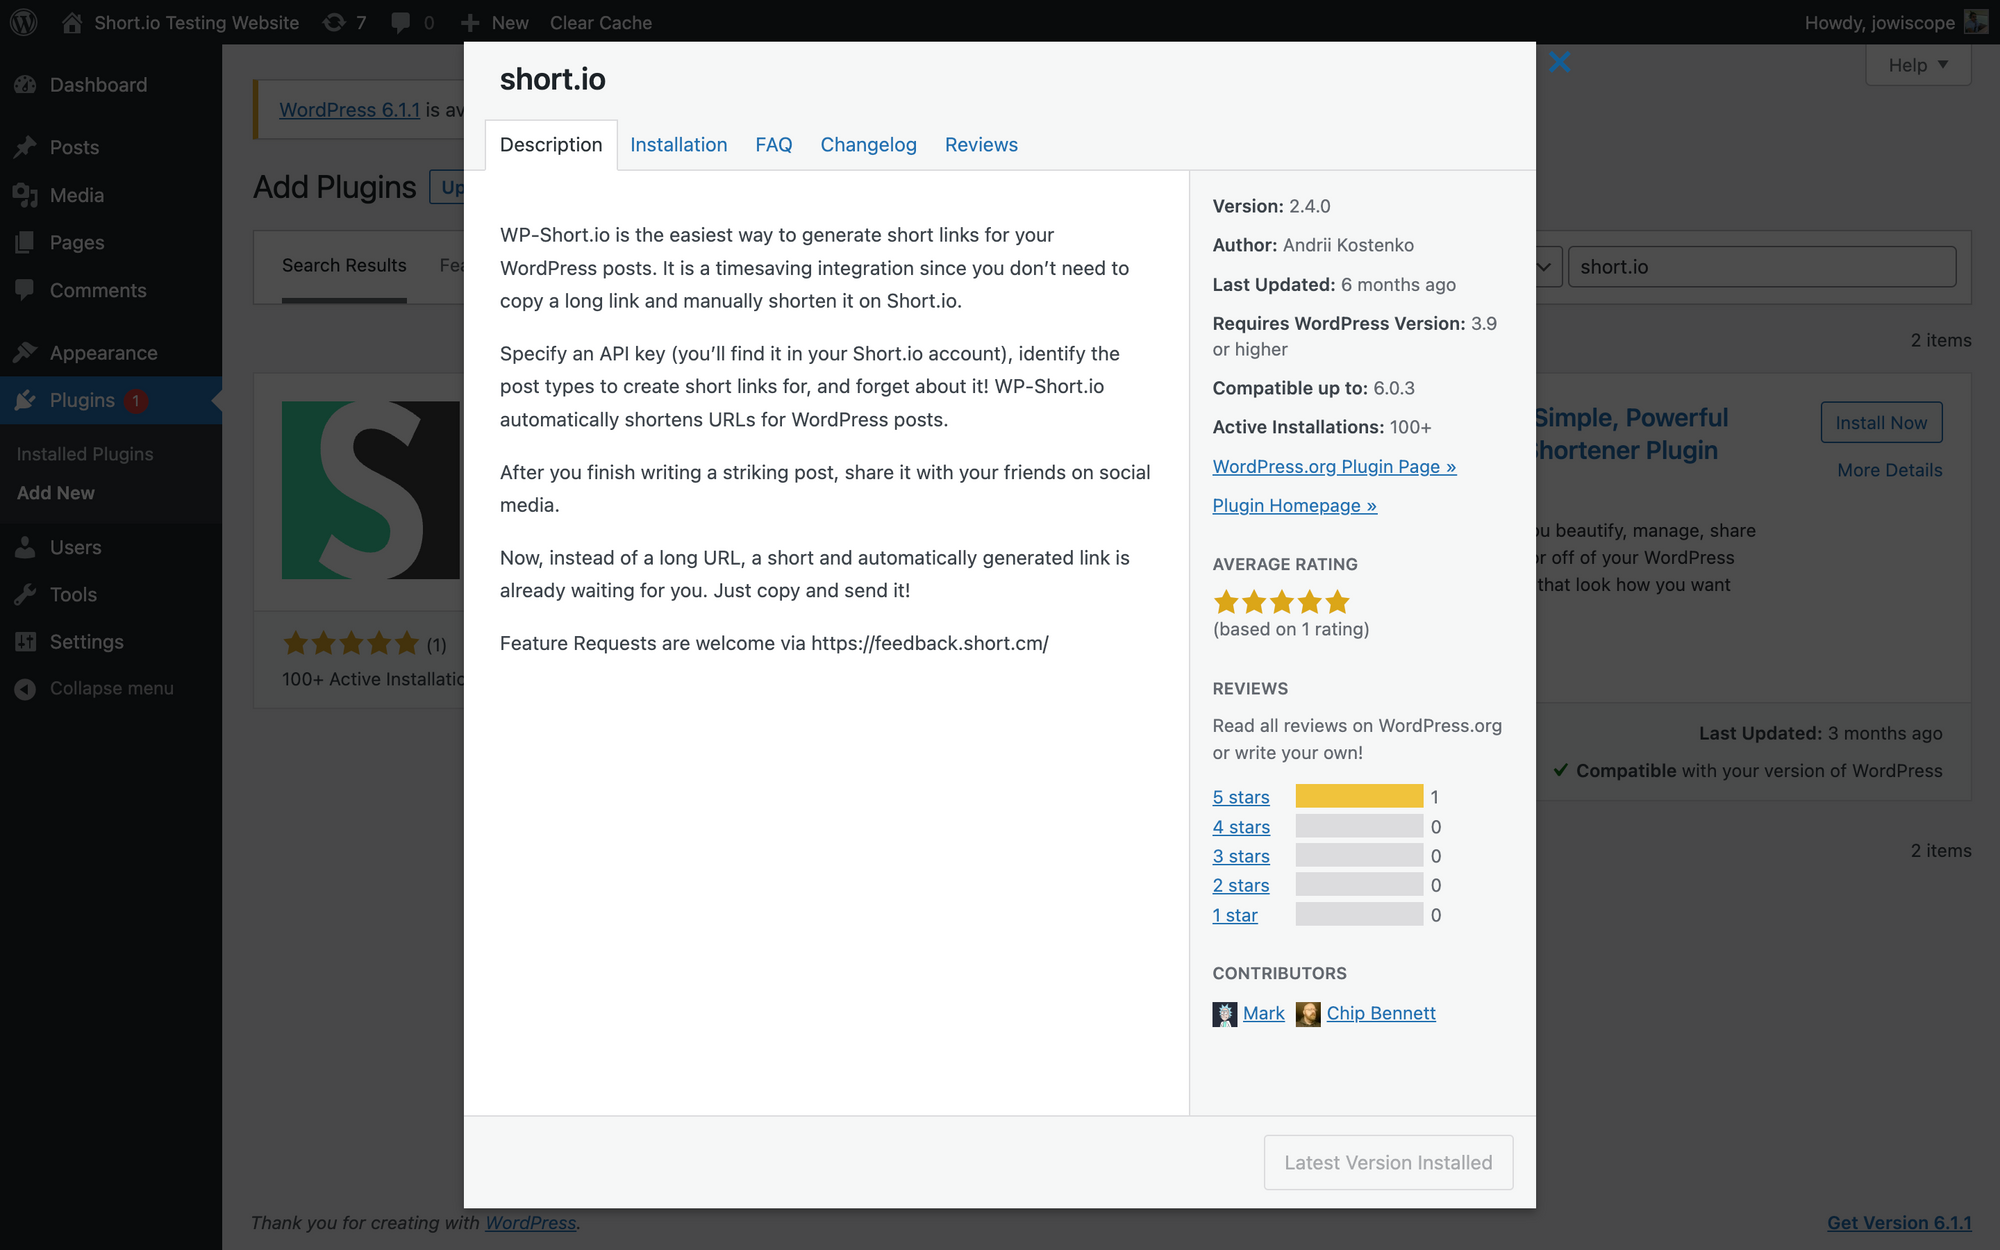
- Type Short.io in the search bar. (It's on the top right.)
- Select Install Now and wait for it to install.
- Once installation is done, click Activate.
- Go to Short.io and log into your Short.io account.
- On the main menu, click on Integrations & API
- Under the API tab, click on CREATE API KEY.
- Select the domain or team to which you want to link the API key, then choose CREATE.
- Copy the created key. You should write down this key or paste it somewhere safe, as you cannot recover it once you press OK. However, you can always create a new key to replace it if you lose this key.
- Go to your WordPress Settings page.
- Under WP Shortcm Options, paste the secret key you copied to Short.cm Secret Key. Under Select domain, type in your Short.io short link domain.
- Press Save Changes.
- Publish a test blog to ensure the plugin is effective.
Method Two: Upload the Short.io Plugin to Your WordPress Account
- Download the Short.io WordPress Plugin installer.
- Open your WordPress Admin Panel.
- Select Plugins.
- Choose Add new.
- Click on Upload Plugin.
- Select the recently downloaded installer from your computer.
- Click Activate Plugin.
- Go to Short.io and log into your Short.io account.
- On the main menu, click on Integrations & API
- Under the API tab, click on CREATE API KEY.
- Select the domain or team to which you want to link the API key, then choose CREATE.
- Copy the created key. You should write down this key or paste it somewhere safe, as you cannot recover it once you press OK. However, you can always create a new key to replace it if you lose this key.
- Go to your WordPress Settings page.
- Under WP Shortcm Options, paste the secret key you copied to Short.cm Secret Key. Under Select domain, type in your Short.io short link domain.
- Press Save Changes.
- Publish a test blog to ensure the plugin is effective.
The steps are easy. With 15 or 16 steps, you will have your Short.io plugin ready to use and accessible every time you open your WordPress website!
Short.io Empowers Your WordPress Site
When you add Short.io to your WordPress account, you save a lot of time and effort with your online marketing efforts. You can automatically create shortened links for all your web pages—no need to get out of WordPress to do it.
More than that, you can analyze the clicks on all your links, whether it's shared on social media, email, or whatever platform you use. This lets you see a complete overview of your marketing efforts.
Best of all, you only need to connect free Short.io account to your WordPress account once, get the API key, and you're good to go. You can accomplish everything you need with the Short.io WordPress plugin on your WordPress dashboard.
More Than a Plugin
When you create a Short.io account, you give yourself and your brand access to many powerful features. You can revamp your marketing strategy, grow your social media followers, enhance your online selling websites, and more. Visit Short.io and discover how it can upgrade all your online endeavors.